
 5745
5745
Background
As part of the Client Intake process, the agency asks the client for their consent to share the client's data in HMIS via the Consent to Share Protected Personal Information form. Clients have the option to refuse their consent to share their information, and still be served by a HMIS participating agency. Clients that do not sign the consent form can still be entered into HMIS.
Please review this article to learn how manage how a client's record is shared in HMIS via the Release of Information (ROI) page.
Within this article:
Additional Releases of Information
Accessing the ROI Screen
There are two way to access the ROI Screen:
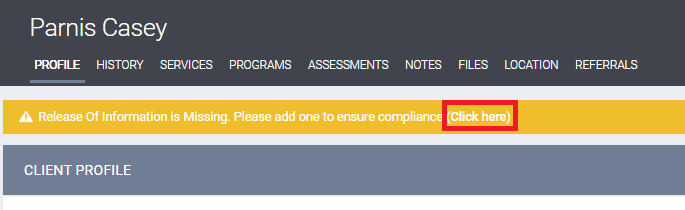
1. Selecting the ROI Bar
You may access the ROI screen by selecting Click here from the yellow ribbon that appears when a client record has been created.
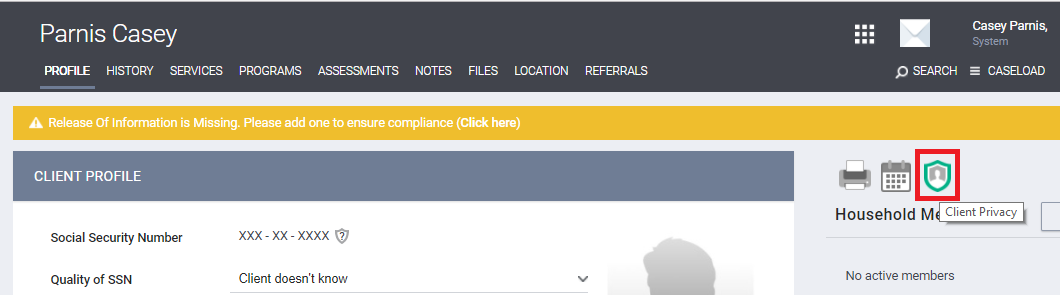
2. Selecting the Client Privacy Button
You may also access the ROI screen by clicking on the Client Privacy button that is also featured on the client's main profile page.
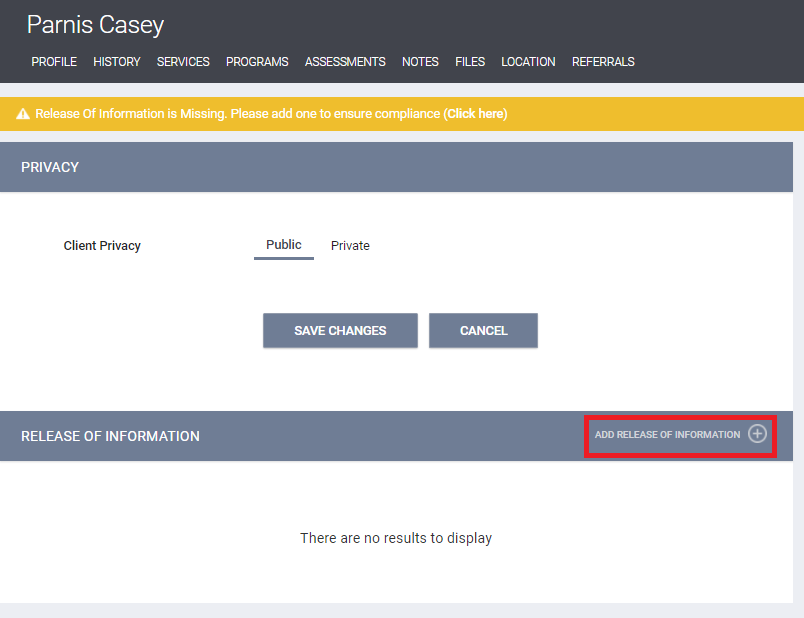
Release of Information Screen
Once you select a method mentioned above, you will see the ROI screen, scroll to the Release of Information section and click Add Release of Information:
Release of Information
This page is used to document whether or not the client gave their consent to have their personal information shared with other agencies in HMIS. Complete the following fields on the page:
Please note, unaccompanied minors (a single client age 17 or under, or a household where all clients are 17 or under) CANNOT consent to share their personal information in HMIS. In this case, Permission should be set to No, and Client Privacy must be set to "Private."
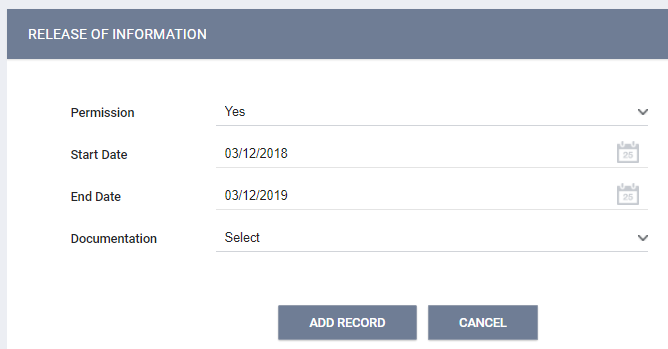
The Release of Information pop-up window will require that the following information be entered:
- Permission
- Yes - Client provided consent to share their information in HMIS
- No - Client did not provide consent to share their information in HMIS
- Start Date: This is the date that the client signed the ROI. The Start Date defaults to today's date, but it must be configured to reflect the actual date the ROI was signed by the client, if it was not signed on the current day.
- End Date: This is the date that the ROI will expire. It will default to the expiration date configured by the HMIS System Administrator.
- Documentation: Enter the way in which the ROI was stored. There are several options listed:
- Electronic Signature - If Electronic Signature is selected, a black button stating e-Sign Document will be present. Click on it to complete the electronic signature form. The client can sign the form with their finger or stylus if your agency has purchased a signature pad, or using the computer's mouse if your agency does not have a signature pad. If this method is used, 211OC highly recommends that you print a PDF copy of the signed form from Clarity and add it to your client's paper file in case of an audit.
- For households with minor children, have the adult guardian e-sign for the minor child.
- Attached PDF - This will prompt the end user to upload the PDF, which must be the Consent To Share Protected Personal Information form.
- For households with minor children, make sure the HoH's attached PDF contains the minor children's information. Each minor child in the household should be included on the same attached PDF.
- Signed Paper Document - This means that the agency is storing a copy of the Consent To Share Protected Personal Information form outside of HMIS. You will be prompted to enter the location where this is stored. You can enter the agency's name or project name where this form is stored for this client.
- Electronic Signature - If Electronic Signature is selected, a black button stating e-Sign Document will be present. Click on it to complete the electronic signature form. The client can sign the form with their finger or stylus if your agency has purchased a signature pad, or using the computer's mouse if your agency does not have a signature pad. If this method is used, 211OC highly recommends that you print a PDF copy of the signed form from Clarity and add it to your client's paper file in case of an audit.
Once you have completed all of the fields, click the Add Record button.
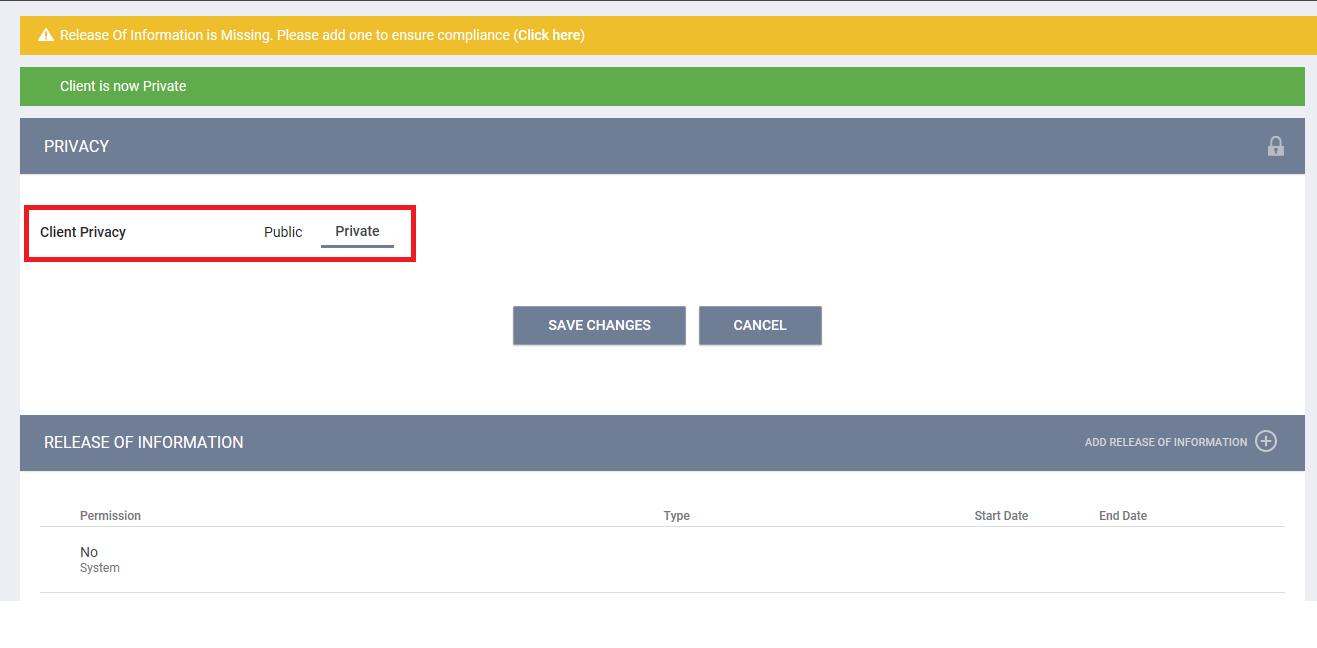
Client Privacy
Once the Release of Information data has been saved, you will see the client's current Privacy setting. This field defaults to Public for all clients. This means that any agency with access to HMIS will be able to view the client's profile and any project enrollments the client has, although they won't be able to add or edit any data to enrollments that their agency doesn't "own." If the client did not give permission for their data to be shared in HMIS, the Privacy field should be changed to Private, which means that only your agency will be able to view the client's profile and enrollment.
Additional Releases of Information
If the client you are serving already has an active ROI record, you will not be able to create another ROI record for your agency. However, if you would like to store a signed copy of the Consent To Share Protected Personal Information form that the client signed at your agency's to the client's record, you can do so by uploading it to the client's Files tab. Select the "Personal Identification" category and upload the PDF under the Additional Release of Information (ROI) file name.
Common Errors
An error message saying "Please correct errors" and highlighting the ROI record's date in red can happen for two common reasons:
- The client already has an active ROI record - If the client already has an active ROI record, you will not be able to add another one. If your agency prefers to keep scanned copies of clients' ROI forms in their profile in HMIS, you can upload your scanned form to the Files tab.
- The start date is in the future - The ROI start date must be in the past or the day you are creating the record.
If you experience an error and neither of the above scenarios apply, please submit a ticket to the HMIS Help Desk.
Additional Resources
- Click here to visit the OC HMIS Documents Page

