
 11409
11409
Background
This article will cover how to create Client Notes and Public Alerts.
This video contains most but not all of the same information in this article.
In Clarity, case notes are called Client Notes. Client Notes can be added at the Client Level or the Enrollment Level. Public alerts are also available for you to add information that may be useful for other agencies working with the client to know. See below for the differences between these note types.
Within This Article
Client Level Client Notes
- Can be seen by anyone at any agency.
- Is not associated with any project enrollment.
- Will not appear on any Client Reports.
Creating Client Level Client Notes:
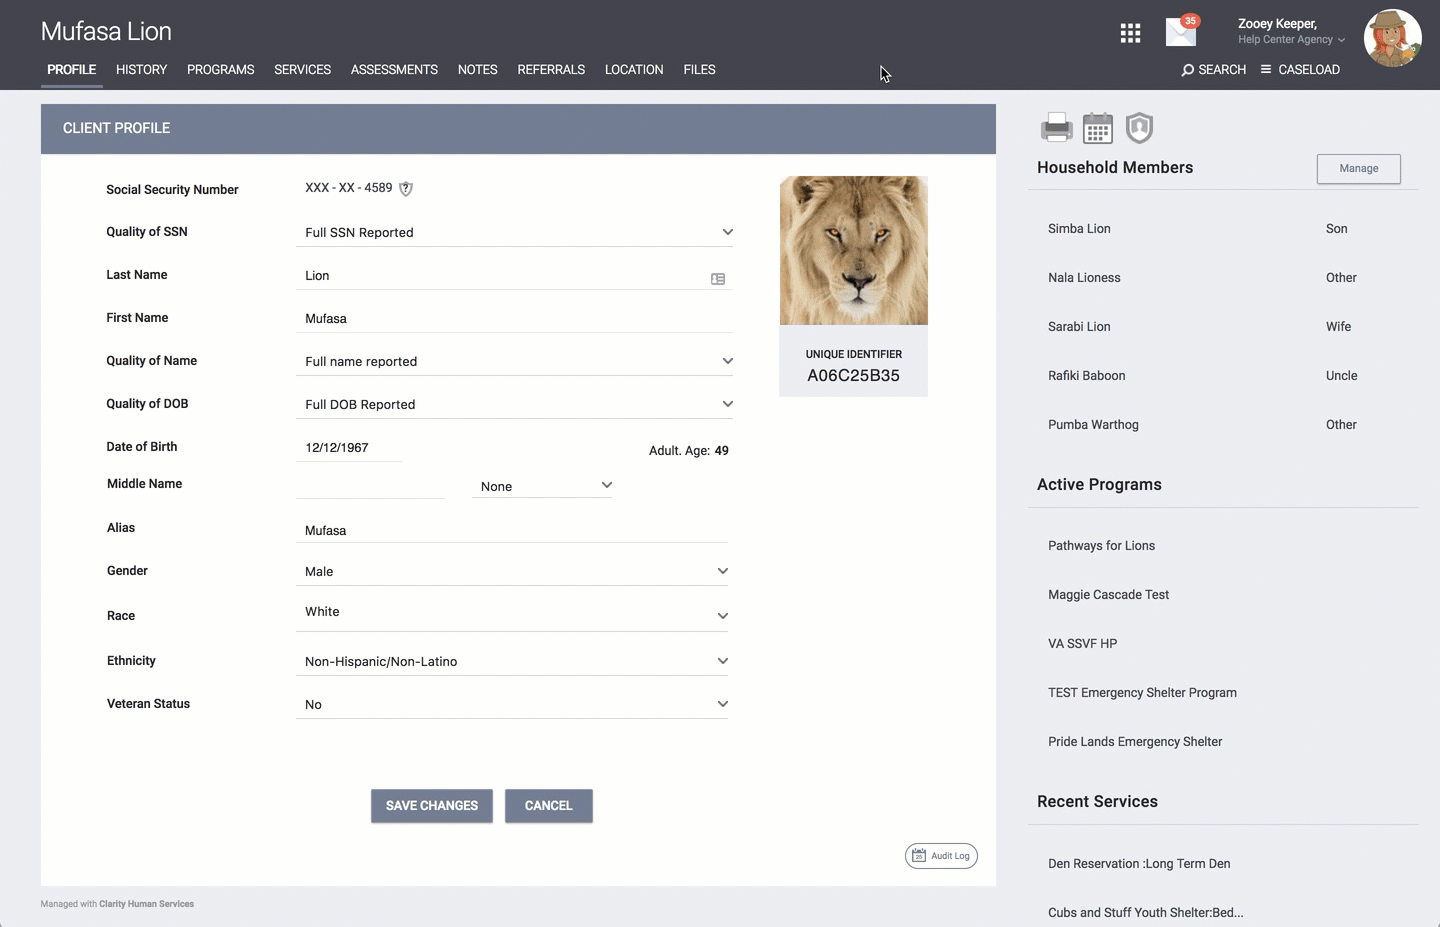
Step 1: Search for the client record, and click Edit icon on the record.

Step 2: Select the Notes tab in the top menu of the Client Record. From here you can add a new note by clicking Add Note in the top right corner of the Notes section.

Step 3: When adding a note you will be asked to fill out the following information:
- Title: Create a title for your note and enter your note in the body of the notes section.
- Agency: The Agency field will automatically be populated with your agency name.
- Date: The date the note was created
- Time Tracking: Time Tracking fields are also available allowing the user to track the time spent on creating the client note, or to track time spent working with the client (this is based on agency policy). Utilize the drop-down fields in the Time Tracking area to record the number of hours and minutes spent.
- Notes: The note you want to track
Step 4: Click, Add Record.

Enrollment Level Client Notes
- Can be seen only by staff members at your agency.
- Is associated with the project enrollment used to create the note.
- Will appear on Client Reports with Client Note functionality, such as the [CLNT-101] Case Notes report.
Creating Enrollment Level Client Notes:
Step 1: Search for the client, and Edit their record

Step 2: Go to the Program tab, and Edit the project

Step 3: After selecting the project, go to the Notes sub-tab and Click on Add Note button

Step 4: The Client Note will ask for the following information:
- Title: Create a title for your note and enter your note in the body of the notes section.
- Agency: The Agency field will automatically be populated with your agency name.
- Date: The date the note was created
- Time Tracking: Time Tracking fields are also available allowing the user to track the time spent on creating the client note, or to track time spent working with the client (this is based on agency policy). Utilize the drop-down fields in the Time Tracking area to record the number of hours and minutes spent.
- Notes: The note you want to track
- Private (optional): Selecting the Private checkbox will make the Client Note visible to only staff members in your agency. Not selecting it will make it visible to all agencies

Step 5: Click, Add Record
Your Client Note will now appear under the Note sub-tab section within the project enrollment:

Public Alerts
For situations when it is necessary to notify your agency or several agencies of a client situation/need, a Public Alert can be created to appear on the client profile page. Follow these steps for instructions on how to do this.
Step 1: Search for a client, and Edit their record
Step 2: Go to the Notes tab in the client profile and select Add Alert
Step 3: The Public Alert will need to have the following information:
- Title: Enter the Public Alert Title
- Agency: The Agency field will be automatically entered
- Expiration Date: When you would like this message to disappear, the alert will appear on the client's Profile page until the Expiration Date entered.
- Note: Explaining the nature of the alter
- Private (optional): Selecting the Private checkbox will make the Public Alert visible to only staff members in your agency. Not selecting it will make the Public Alert visible to all agencies.
Step 4: Click, Save Changes

The Public Alert should now appear on the client's record and be displayed:


